Tips & Tricks with Couture Creations Alcohol Ink Markers
Date Posted:30 July 2021
FEATURES
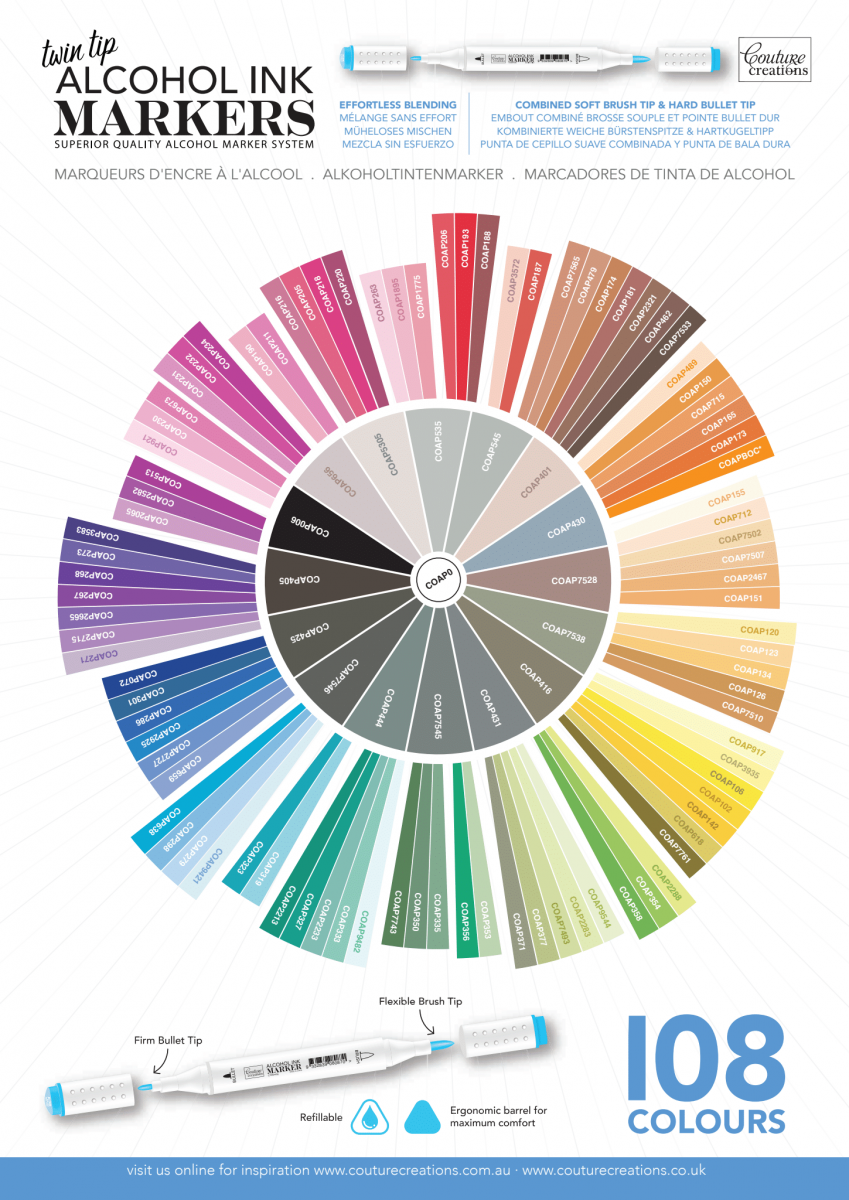
Couture Creations Twin Tip Alcohol Ink Markers are the highest quality alcohol based markers available. These markers feature a permanent, non-toxic, acid-free ink that produces beautifully smooth and effortlessly blended colours. These are available in 108 different colours and tones.
COLOURING TIPS
Before you colour on any paper, you should test the markers on it to see if you’ll get any bleeding. Make sure that you have a few more layers of paper underneath to see how severe the bleed might be.
• If you are using a variety of mediums on your artwork, make sure all other artwork is completely dry before colouring with the markers. If you are laying down lines of ink before colouring, you definitely want to avoid smudging these lines.
• Make sure you use the lightest colours first and gradually work towards your darker shades. If you colour with darker colours first, it will be difficult to fix mistakes.
• To blend, first colour the desired area evenly with the lighter colour. Next, you want to colour the desired area with a darker colour. Use the lighter colour to blend the area where the two colours meet by applying to colour over this area multiple times until the colours blend together.
• You can also blend colour by treating the marker ink sort of like watercolour paints. Use the marker to colour on a piece of plastic. The ink shouldn’t absorb into the plastic and will leave a small puddle. Take the marker of the second colour you want to blend it with and touch the nib to this puddle. It will pick up a small amount of the colour on the tip of the nib. Use the marker like a paintbrush and you’ll see the blended colour result on the paper.
• If you experience pressure in the marker remove both caps which will help equalise the pressure. Incorrect pressure can be caused by excessive heat or cold as it reacts with the alcohol in the pen.
• Blending markers like couture Creations Twin Tip Alcohol Ink Markers dispense juicy ink, so you need a paper that is thick enough to resist bleeding, yet not too thick that it would take up so much ink to colour a particular area. We recommend using papers and cardstock rated from 70 to 250 gsm.
• Couture Creations Twin Tip Alcohol Ink Markers dry quickly so there is less chance of smudging and producing faded, watery colours. They’re also permanent on most surfaces and you can easily layer them. As the inks are slightly opaque you can create colour overlays to alter the shade of your work and create multi-toned highlights and blends.
COLOURLESS BLENDER
A colourless blender has the same ink that’s found in all other markers but without the colour. A colourless blender can also be used to help blend. Saturate your desired area with the colourless blender first. Add the colour you want over that layer while it’s still damp. This will result in a much smoother, blending effect due to the colourless blender ink moving the colour on paper. Colourless blenders are great for adding highlights when you need to add lighter colours to a darker area. Although it isn’t recommended to use darker colours before light, you may find that you want to add highlights to a certain area that you have already coloured. Colourless blenders can also be used to fade an area. Make sure you try out the colourless blenders and the effects they can have on a particular colour by testing them out on a different sheet of paper. You can also use colourless blenders if you colour outside of the desired space by using the marker to push the colour back into the right area. If you repeat this step, the colour will appear lighter and lighter. Listed below are all the great things you can do with a colourless blender: Check this guide out for detailed info on how to get all these results.
• Adding highlights
• Fading to white
• colouring transparent objects
• Pre-soaking paper
• Fixing mistakes
• Adding texture & patterns
• Blending colours together
• Muting colours
• Cleaning up edges
CHOOSING THE RIGHT PAPER
Like any art medium, Couture Creations Twin Tip Alcohol Ink Markers are going to work great on some papers and not so well on others. On uncoated paper, markers will feather pretty easily while coated papers will vary. On glossy paper, you’ll have to use darker colours since colours don’t absorb as easily on coated paper. Layers are a little more difficult to apply and stick. On vellum or tracing papers, the paper does not absorb the ink. This allows you to erase the artwork if needed. This paper is also transparent so you can utilise this feature by colouring on both sides to create your artwork. For general illustration, you should work with an uncoated paper-like stamping illustration, manga illustration, or natural white sketchbook. On thicker illustration paper, the markers won’t bleed and appear beautifully smooth. On thinner paper, you might find that some colour bleeds through.
For paper crafting, you should use thick, opaque cardstock with an uncoated, smooth surface. We recommend using papers and cardstock rated from 70 to 250 gsm. If you are using a lighter weight paper, you should work with another paper underneath as you may experience some bleed through. For black and white comic art, use something with a smooth surface like manga manuscript paper. For product design and architectural illustrations, use an alcohol marker paper vellum or tracing paper. Alcohol marker paper is thin and coated. It’s really good for tracing and it typically doesn’t bleed through. You should definitely experiment with different stocks to find the ideal for your blending preferences. We recommend doing a trial with a small piece of the stock you intend to use before beginning on a full project.
Information provided by Couture Creations Ltd.


